Mastering Homemade Pasta from Scratch with Simple Ingredients
Making pasta from scratch at home is a process that connects the cook to centuries of culinary tradition. With just a few simple ingredients, it is possible to create a dough that forms the foundation for many classic dishes. The most common ratio for fresh pasta is one whole egg for every 100 grams of flour, a proportion that yields a dough with a balanced texture. This basic method serves as a starting point for exploring different shapes, fillings, and flour blends.
The appeal of homemade pasta lies not only in its taste but also in the control it offers over ingredients and texture. By understanding the relationship between flour and eggs, cooks can adjust the dough to suit their preferences or dietary needs. The following steps describe a straightforward approach to preparing, rolling, and cutting tagliatelle, a long ribbon-shaped pasta that pairs well with a variety of sauces.
Throughout the process, attention to hydration, rest, and handling helps create a dough that is both workable and satisfying. No special equipment is strictly required, though a rolling pin or a pasta machine can simplify the work. The techniques presented here are adaptable and can be applied to other pasta shapes as well.
Understanding the Basic Ratio
The foundation of fresh pasta is the ratio of flour to eggs. A widely used formula calls for 100 grams of all-purpose or tipo “00” flour per large egg. This proportion provides enough moisture for the dough to come together without becoming sticky, while the proteins in the flour develop gluten during kneading and resting. Using this ratio as a baseline, it becomes easier to scale recipes or make small adjustments for humidity or egg size.
Flour choice plays a role in the final texture. All-purpose flour yields a reliable dough that is neither too soft nor too firm. Tipo “00” flour, a finely ground Italian flour, produces a more tender and silky pasta. Some cooks blend semolina flour with eggs to add a slightly coarser texture and a faint golden color. The ratio itself remains flexible; a few additional grams of flour can be added if the dough feels too wet, or a splash of water if it seems dry.
Weighing ingredients is recommended over using volume measurements, as the weight of flour can vary significantly depending on how it is scooped. A digital scale helps maintain consistency, which is especially valuable when repeating the process. Once the ratio is understood, it becomes a reliable reference point for experimenting with other ingredients such as spinach purée, squid ink, or roasted red pepper, though those additions require adjusting the moisture content.
Preparing the Dough: Mixing and Kneading
To begin, measure the flour and form a mound on a clean work surface. Create a well in the center and crack the eggs into it. Using a fork, gently beat the eggs, gradually incorporating the flour from the inner walls of the well. As the mixture thickens, use your hands to bring the remaining flour into the center until a shaggy mass forms. This method helps ensure even hydration and minimizes waste.
Kneading is the step where gluten develops, giving the dough its elasticity. Press the dough forward with the heel of your hand, fold it over itself, and rotate it a quarter turn. Repeat this motion for about 8 to 10 minutes until the dough feels smooth and supple. If the dough resists or feels too dry, lightly moisten your hands with water. If it sticks excessively, dust the surface with a small amount of flour. The goal is a uniform consistency that springs back slightly when pressed.
After kneading, wrap the dough tightly in plastic film or place it in a covered bowl and leave it to rest at room temperature for at least 30 minutes. Resting allows the gluten to relax, making the dough easier to roll out without shrinking. It also gives the flour time to fully absorb the moisture, leading to a more cohesive structure. During this period, the dough may become slightly firmer, which is a normal part of the process.
Rolling the Pasta Dough
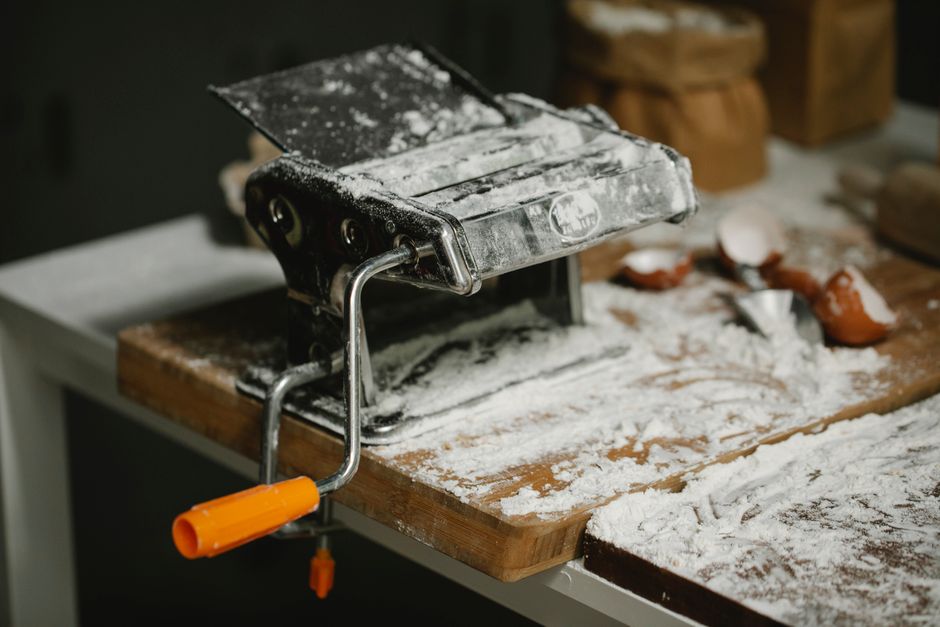
Once rested, the dough is ready to be rolled out. Divide the dough into manageable portions, keeping the unused pieces covered to prevent drying. Flatten one portion into a disc about half an inch thick. If using a pasta machine, set the rollers to the widest setting and pass the dough through. Fold it into thirds, rotate it 90 degrees, and pass it through again at the same setting. This step, often repeated two or three times, helps create an even thickness and a smooth surface.
Gradually decrease the roller gap setting by one notch at a time, passing the dough through each setting once. Between passes, the dough will lengthen and widen. If it becomes too long to handle, cut it in half and work with smaller pieces. Dusting the dough lightly with flour prevents sticking, but excess flour should be brushed off to avoid toughening the pasta. For tagliatelle, a typical final thickness is achieved at setting 6 or 7 on most machines, or about 1.5 to 2 millimeters when rolled by hand.
If rolling by hand, use a long rolling pin and apply even pressure from the center outward. Rotate the dough frequently to maintain a round or oval shape until it reaches the desired thickness. The dough should be thin enough to see the outline of your hand through it but not so thin that it tears easily. Consistent thickness is important for even cooking, especially when cutting into ribbons.
Cutting Tagliatelle
Tagliatelle are traditionally cut into strips about 6 to 8 millimeters wide. Once the dough is rolled out, let it rest for a few minutes uncovered so that the surface dries slightly. This makes cutting cleaner and reduces the risk of the strips sticking together. Lightly dust the sheet with flour, then loosely roll it into a flat cylinder, starting from one short end. Using a sharp knife, slice the roll crosswise at intervals of the desired width.
After cutting, carefully unroll the strips and toss them with a small amount of flour to separate them. The pasta can be cooked immediately or allowed to dry for a short time. Fresh tagliatelle cooks much faster than dried pasta, usually in 2 to 4 minutes depending on thickness. The strips should be placed into a pot of generously salted boiling water and stirred gently to prevent clumping.
For storage, the cut pasta can be arranged in nests on a lightly floured tray and refrigerated for up to a day. If the nests are well separated, they can be frozen on the tray and then transferred to a freezer bag for longer storage. When cooking from frozen, add an extra minute to the cooking time. Keeping the pasta loosely covered prevents it from drying out prematurely.
Cooking and Serving Fresh Pasta
Fresh pasta requires a large pot of boiling water, with roughly four to six quarts of water per pound of pasta. The salt level should be similar to that of sea water, as the pasta absorbs the salt during cooking. Because fresh pasta contains eggs, it cooks quickly and should be monitored closely. Overcooking leads to a mushy texture, while undercooked pasta can feel pasty. The ideal state is al dente, meaning the pasta retains a slight firmness at the center.
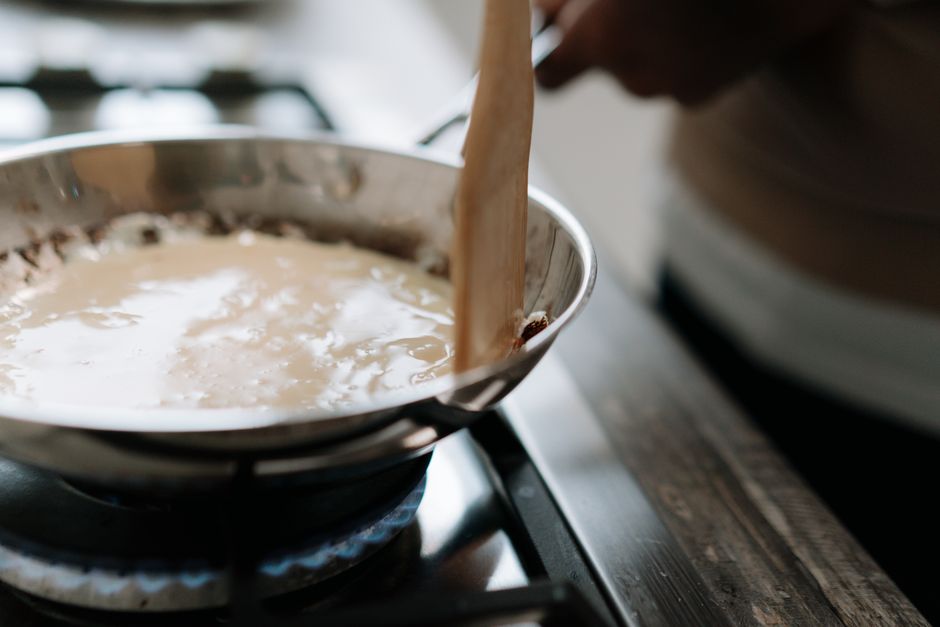
Once the pasta is cooked, a common technique is to reserve about half a cup of the starchy cooking water before draining. This water can be used to adjust the consistency of sauces, helping them cling to the pasta. After draining, the pasta can be tossed directly with a sauce in a warm pan or bowl. Simple sauces such as butter and sage, tomato basil, or a light cream-based sauce complement the delicate flavor of fresh tagliatelle without overwhelming it.
The finishing steps affect the final dish. Letting the pasta rest in the sauce for a minute or two allows the flavors to meld. A final grating of Parmesan cheese, a drizzle of extra-virgin olive oil, or a sprinkle of fresh herbs can enhance the presentation. Each serving reflects the effort put into the earlier stages, from mixing the dough to cutting the ribbons, and the result is a meal that feels both rewarding and connected to a straightforward process.